Top | Canning and Preserving
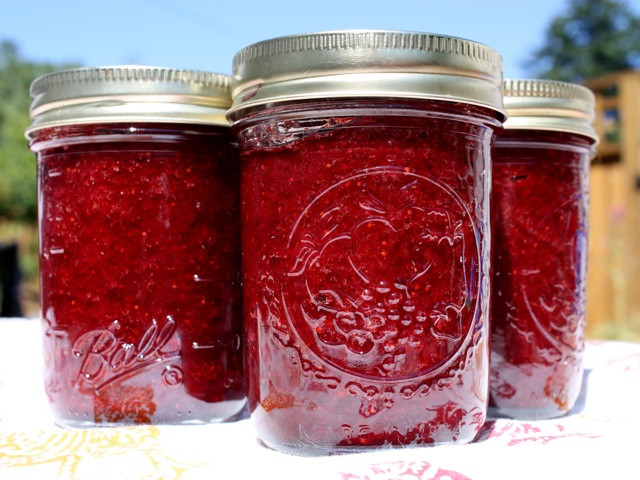
Strawberry Jam
(recipe, Ashley English)
primary-image, l
Introduction
Strawberry jam is pretty much the rock star of the jam world. Everyone seems to like it, it's easy to make, and you get an incredible return for rather little effort. The only advance preparation required in this recipe (short of prepping the fruit) involves allowing the strawberries, sugar, and lemon juice to sit together for 2 hours before cooking. This causes the natural juices of the strawberries to be released, which in turn helps the pectin in the berries to be more available when you begin cooking.
Ingredients
- 4 pt. strawberries, hulled and sliced
- 2 cups granulated sugar
- 2 Tbsp. bottled lemon juice
Steps
- Place two small plates in the freezer. These will be used later to test for gelling.
- In a large nonmetallic bowl, add the strawberries, sugar, and lemon juice; stir, cover loosely with a kitchen cloth, and set aside to macerate at room temperature for 2 hours.
- Clean and dry three half-pint mason jars, along with their lids and ring bands.
- Put the jars into a canner or large stockpot and fill the pot with enough water to cover the jars by 3 inches. Heat over medium-high heat just to the boiling point and simmer for 10 minutes. Keep warm until ready to be filled with jam.
- Place the jar lids in a small saucepan, fill with water, bring to a boil, turn off the heat, and leave on the stovetop till needed.
- Transfer the strawberry mixture to a medium stainless-steel pot. Bring to a boil over medium-high heat and boil for 20 to 25 minutes, until the mixture begins to thicken. Stir frequently and watch the pot carefully to prevent the contents from boiling over. Skim off any foam that rises to the top.
- Test for gelling. Remove a plate from the freezer and spoon about 1 teaspoon of the strawberry mixture onto it. Place the plate back in the freezer and wait 2 minutes. Remove from the freezer and push the edge of the jam with your fingertip. If the jam has gelled properly, the surface will wrinkle a bit. If it fails to wrinkle, or is obviously still runny, boil the jam for 5 minutes longer, and then repeat the test.
- Place the hot, sterilized mason jars on top of a kitchen cloth on the counter. With the help of a canning funnel, ladle the jam into the jars, reserving ¼-inch headspace in each jar.
- Use a nonmetallic spatula to remove any trapped air bubbles. Wipe the rims clean with a damp cloth. Place on the lids and ring bands, tightening only until fingertip-tight.
- Using a jar lifter, place the jars into the canner. Process for 10 minutes in a boiling-water bath. Turn off the heat, remove the lid of the canner, and let sit for 5 minutes.
- Using a jar lifter or tongs, remove the jars. Try to avoid tilting the jars as you remove them from the canner. Place the jars on a towel and allow them to cool, untouched, for 24 hours. (You might want to drape a cloth over your jars to keep them from catching drafts, as cooling too quickly can cause jars to crack.)
- When the jars are cool, press on each lid with a fingertip; if the lid flexes, the jar isn’t sealed. You can reprocess unsealed jars in a boiling-water bath or simply store the unsealed jars in the fridge. Tighten the ring bands, or remove the ring bands completely. Label and date each jar before storing them in a cool, dark, dry location.
Note
Variation: If you'd like to give your strawberry jam an herbal undertone reminiscent of summer, add 1 Tablespoon fresh mint or lemon verbena leaves. If fresh herbs aren't available, used 2 teaspoons of dried herbs.
Culinate editor's note: For a more intense hit of lemon, cut thin, small strips of lemon rind from an organic lemon and cook them along with the jam. They'll candy in the jam and provide bright, citrusy, chewy bursts in the finished jam.