Top | Crackers & Dips
Brown Butter-Hazelnut Crackers
(recipe, Ivy Manning)
primary-image, l
Introduction
These rich crackers were a great favorite with my chief recipe tester, Rebecca Gagnon; she liked them so much that she continued to “test” them even after we were both happy with the recipe!
The secret to their ultra-nutty, rich flavor is in the browned butter. Cooking butter until the milk solids turn brown transforms butter into a sweet, nutty-tasting liquid fat, a perfect accompaniment to the hazelnuts in these gluten-free hazelnut crackers.
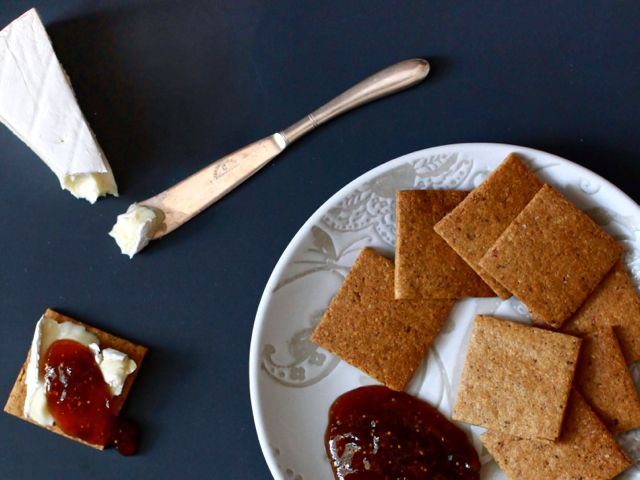
Try them topped with crumbles of salty blue cheese, such as Spanish Valdeón, and a whisper-thin slice of ripe pear or a dab of Figgy Bourbon Conserve.
Ingredients
- 2¼ cups (295 grams) hazelnuts
- 3 Tbsp. unsalted butter
- 2 eggs
- 1 Tbsp. sugar
- 1 tsp. fine sea salt
Steps
- Preheat the oven to 350 degrees. Cut two pieces of parchment paper to fit your baking sheets.
- Place the nuts on an unlined baking sheet and bake until they are light brown, their skins have cracked, and they smell nutty, 10 to 15 minutes. Set the nuts aside to cool, and maintain the oven temperature.
- In a small sauté pan, melt the butter over medium-low heat. Once the foaming subsides, the butter will begin to brown. Continue to cook, swirling the pan frequently, until the butter is light brown (the color of light brown sugar), about 45 seconds. Do not overcook the butter, or it will give the crackers a burned flavor. Pour the butter into a small glass bowl and chill it for 10 minutes. Collect enough of the clear liquid fat to measure 2 tablespoons and discard the dark solids. Whisk together the brown butter and the eggs in a small bowl and set aside.
- Rub the nuts together in a clean dish towel to remove their papery skins; discard the skins. Place the hazelnuts, sugar, and salt in a food processor, and pulse until the nuts look like fine cornmeal, about 45 one-second pulses. (Be careful not to overprocess the nuts, or they will begin to turn into nut butter.) With the machine running, gradually add the butter-and-egg mixture through the feed tube until the mixture comes together into a moist ball of dough. (You may not need all of the egg mixture.)
- Divide the dough into two portions. Center one portion of the dough on a piece of parchment paper. With moistened fingers, form the dough into a rectangle measuring 4 by 6 inches, cover with a piece of plastic wrap, and roll the dough out until it is a sixteenth of an inch thick, lifting up the plastic now and then to make sure there are no creases in the dough.
- Remove the plastic wrap and transfer the dough on the parchment paper to a baking sheet. Using a pastry wheel or pizza cutter, cut the dough into 2-inch squares. Any unattractive or partial segments of the dough can be scraped up with a bench scraper and added to the second ball of dough. Repeat the rolling and cutting process with the second ball of dough.
- Bake the crackers until they are light brown around the edges and firm when poked, 12 to 15 minutes. Rotate the baking sheets once from top to bottom and from back to front while baking, and watch carefully the last few minutes — they can go from perfectly cooked to burned in a matter of seconds. If some of the crackers are done before others, transfer them to a cooling rack and return the undone crackers to the oven for a few more minutes.
- Cool the crackers on a rack and store in an airtight container for up to 2 weeks.
Note
Cracker Tip: Don’t panic if you spy a layer of white foam forming on the crackers as they bake — this is from the natural fats in the hazelnuts heating up. The foam will settle back into the crackers as they finish baking.